Creating users and user groups on the host#
Note
By default the site.yml playbook does not create any users nor user groups on the host machine.
This step is optional because in some scenarios users and user groups might already exist on the host machine and don’t need to be created.
Using the users playbook#
The ansible/ directory contains a users.yml playbook that makes it easier to create new users and user groups on the host in batches.
First you need to create a new users-config.yml with the following content:
plasma_groups:
  - group_1
  - group_2
  - group_3

users:
  - name: foo
    password: PLAIN_TEXT_PASSWORD
    groups:
      - group_1
      - group_2

  - name: bar
    password: PLAIN_TEXT_PASSWORD
    groups:
      - group_3
Replace the groups, name and password entries by the real values.
User groups will be later used to adjust permissions to access environments (see The group include list).
password should correspond to the plain text value of the user password.
For more info about password hashing, please refer to the Ansible Documentation to learn how to generate the encrypted passwords.
When the user file is ready, execute the users.yml playbook with the following command:
ansible-playbook users.yml -i hosts -u ubuntu -e @users-config.yml
By default the user home directory is created in /home. A custom home directory can be configured by setting the variable home_path in the hosts file.
For instance:
[server]
51.178.95.237

[server:vars]
ansible_python_interpreter=/usr/bin/python3
name_server=dev.plasmabio.org
letsencrypt_email=contact@plasmabio.org
home_path=/srv/home
Note
The first time, this playbook will failed complaining with the error message setquota: not found.
This is normal considering quotas are not yet enforced.
Handling secrets#
Warning
Passwords are sensitive data. The users.yml playbook mentioned in the previous section
automatically encrypts the password from a plain text file.
For production use, you should consider protecting the passwords using the Ansible Vault.
This users.yml playbook is mostly provided as a convenience script to quickly bootstrap the host machine with
a predefined set of users.
You are free to choose a different approach for managing users that suits your needs.
Set Disk Quotas#
Users can save their files on the host machine in their home directrory. More details in User Data.
If you would like to enable quotas for users to limit how much disk space they can use, you can use the quotas.yml Ansible playbook.
The playbook is heavily inspired by the excellent DigitalOcean tutorial on user quotas. Check it out for more info on user and group quotas.
Warning
It is recommended to do the initial quota setup before letting users connect to the hub.
Finding the source device#
Run the quotas.yml playbook with the discover tag to find out the device and path on which to apply quota:
ansible-playbook quotas.yml -i hosts -u ubuntu --tags discover
The output will be similar to:
msg: |-
  LABEL=cloudimg-rootfs   /        ext4   defaults        0 0
  LABEL=UEFI      /boot/efi       vfat    defaults        0 0
or
msg: |-
  /dev/disk/by-uuid/55fe8be8-0e4e-46cd-a643-d74284eae15a / ext4 defaults 0 0
  /dev/disk/by-uuid/ecae1a6e-f240-4f3c-adda-56d22691f159 /srv ext4 defaults 0 0
In our case, we want to apply quotas on device LABEL=cloudimg-rootfs that is mounted on path /.
Copy these values in the hosts file:
[server]
51.178.95.237

[server:vars]
ansible_python_interpreter=/usr/bin/python3
name_server=dev.plasmabio.org
letsencrypt_email=contact@plasmabio.org
quota_device_name=LABEL=cloudimg-rootfs
quota_device_path=/
Warning
Be extra cautious when reporting the device name and path in the hosts file.
A typo could prevent to mount your device and require a physical intervention on the server (or a reset if its a virtual machine).
Enabling quotas#
To enable quotas on the machine, execute the quotas.yml playbook (this time without the discover tag):
ansible-playbook quotas.yml -i hosts -u ubuntu
Setting the user quotas#
The users.yml playbook can also be used to set the user quotas. In users-config.yml you can define quotas as follows:
# default quotas for all users
quota:
  soft: 10G
  hard: 12G

plasma_groups:
  - group_1
  - group_2
  - group_3

users:
  - name: foo
    password: foo
    groups:
      - group_1
      - group_2
    # override quota for a specific user
    quota:
      soft: 5G
      hard: 10G

  - name: bar
    password: bar
    groups:
      - group_3
Then re-run the users.yml playbook as mentioned in Using the users playbook.
For example, if a user exceeds their quota when creating a file from the terminal inside the container, they will be shown the following message:
foo@549539d386e5:~/plasmabio-template-python-master$ fallocate -l 12G test.img
fallocate: fallocate failed: Disk quota exceeded
On the host machine, a user can check their quota by running the following command:
foo@test-server:~$ quota -vs
Disk quotas for user foo (uid 1006):
    Filesystem   space   quota   limit   grace   files   quota   limit   grace
      /dev/sda1     16K   5120M  10240M
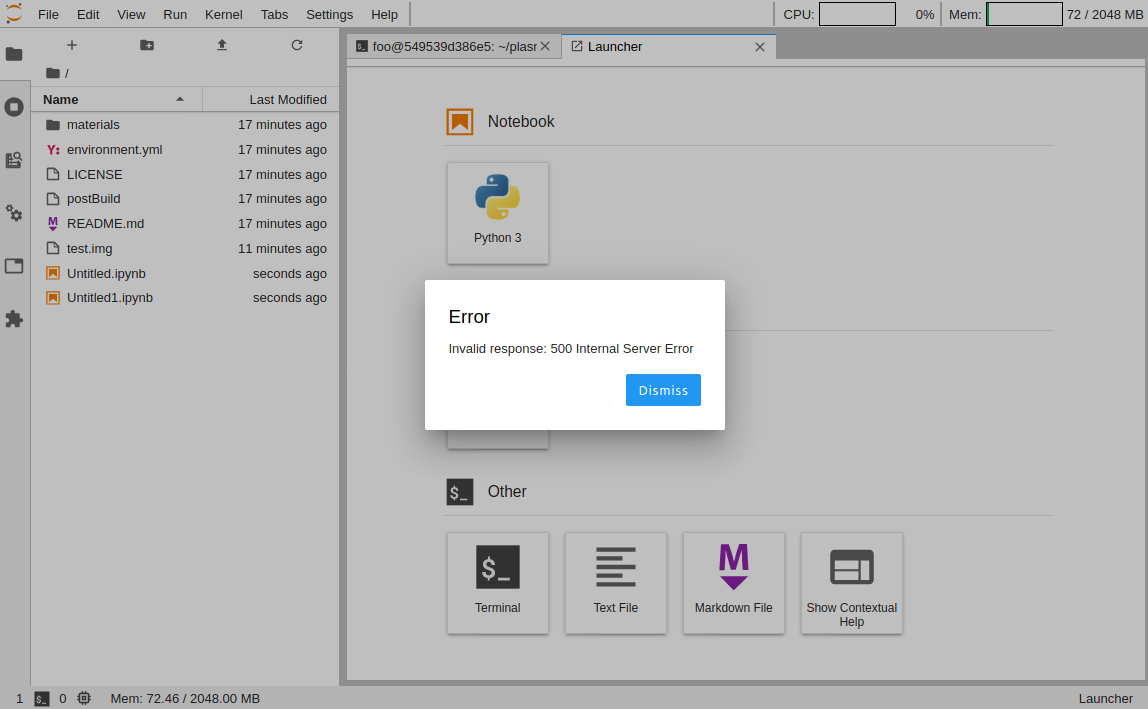
If the quota is exceeded and the user tries to create a new notebook from the interface, they will be shown an error dialog:
On the host machine, an admin can check user quotas by running the following command:
ubuntu@plasmabio-pierrepo:~$ sudo repquota -as
*** Report for user quotas on device /dev/sda1
Block grace time: 7days; Inode grace time: 7days
                        Space limits                File limits
User            used    soft    hard  grace    used  soft  hard  grace
----------------------------------------------------------------------
root      --   3668M      0K      0K           160k     0     0
daemon    --     64K      0K      0K              4     0     0
man       --   1652K      0K      0K            141     0     0
syslog    --   1328K      0K      0K             11     0     0
_apt      --     24K      0K      0K              4     0     0
lxd       --      4K      0K      0K              1     0     0
landscape --      8K      0K      0K              3     0     0
pollinate --      4K      0K      0K              2     0     0
ubuntu    --     84K      0K      0K             16     0     0
foo       --     16K   5120M  10240M              4     0     0
bar       --     16K  10240M  12288M              4     0     0
#62583    --      4K      0K      0K              2     0     0
Creating user in batches#
The Creating and deleting users in batches section details another way to create users in batches.